
Lifestyle
Building a diy golf sim kit step by step

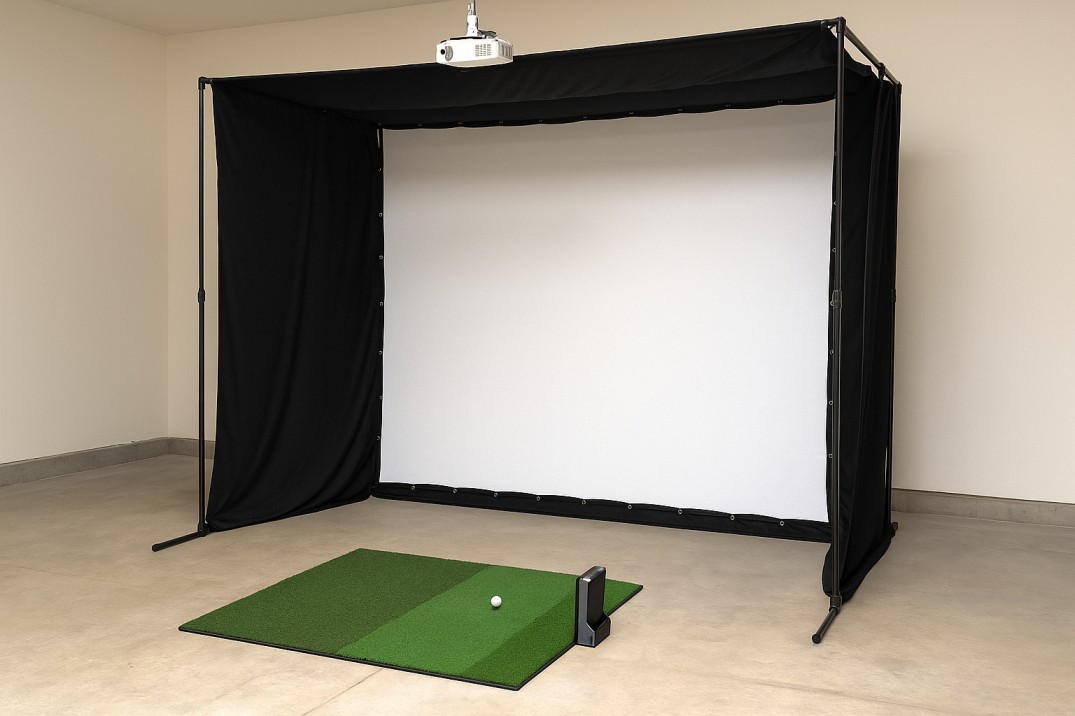
Golf has always been a sport that requires time, space, and good weather. For years, that meant practicing at a driving range or playing on a course, both of which can be costly and inconvenient. But technology has changed the landscape. With launch monitors, realistic software, and affordable hardware, players can now practice at home. One of the most exciting ways to do this is by creating a diy golf sim kit. It’s not just about saving money, but also about tailoring the setup to personal needs.
Why build your own golf simulator
Buying a ready-made simulator package can cost several thousand dollars. Building a custom setup gives more control over the budget, while still delivering a quality experience. Golfers can choose components they value most—such as high-end launch monitors or larger impact screens—while cutting costs in other areas.
A diy golf sim kit also allows for flexibility. Some people want a permanent installation, while others prefer something portable that can be folded away when not in use. Building it yourself means you can adapt to the space available, whether that’s a garage, basement, or spare room.
Essential components
To build a simulator, you’ll need several core pieces:
-
Launch monitor or sensor system: This tracks ball speed, launch angle, spin, and direction. Accuracy varies depending on the brand and price point.
-
Impact screen: A heavy-duty screen that absorbs golf ball strikes while displaying projected images.
-
Projector or monitor: A short-throw projector is ideal for realism, but large TV monitors also work.
-
Enclosure or netting: Surrounds the hitting area to keep shots contained.
-
Turf or hitting mat: Protects flooring and simulates the feel of a real course.
-
Computer and software: Runs the simulator program, offering realistic graphics and gameplay.
Optional extras include side nets for extra protection, lighting control to improve image quality, and sound systems for immersion.
Planning the space
The first step in building a diy golf sim kit is measuring the available space. A ceiling height of at least 9 feet is usually recommended to allow a full swing. The width and depth depend on swing style and the projector setup, but most people need at least 10 feet wide and 12 to 15 feet deep.
Basements and garages are popular choices. Spare bedrooms can work too if they meet the height requirement. It’s also important to think about ventilation and noise, especially if the simulator will be used frequently.
Cost considerations
A basic simulator can be built for under $1,000 using a lower-cost launch monitor, a DIY frame made from PVC or steel, and a budget projector. Mid-range setups might cost $3,000 to $5,000, especially if they include premium mats and software with multiple courses. High-end builds can exceed $10,000 if they incorporate professional-grade monitors and large enclosures.
The advantage of building it yourself is that upgrades can be added over time. Start simple, then improve as budget and interest allow.
DIY versus prebuilt
Prebuilt simulators offer convenience, professional installation, and warranties. But they lock you into specific equipment and design. A diy golf sim kit gives you the freedom to experiment and customize. For some golfers, the process of building it is as rewarding as using it.
There’s also the satisfaction of knowing how everything works. If a screen needs tightening or a projector shifts, you’ll understand how to adjust it. That knowledge saves money on maintenance in the long run.
Materials for enclosures and screens
One of the trickiest parts of a DIY build is the enclosure. Many people use PVC or steel pipes to create a frame, then attach nets and fabric to catch stray shots. The screen itself must be strong enough to handle repeated ball strikes without tearing or allowing bounce-back.
Suppliers that specialize in industrial fabrics and coverings can be helpful here. For example, companies offering heavy-duty tarps often have materials suitable for use in a diy golf sim kit. These fabrics can be adapted for side panels or even as temporary screens, providing affordable and durable solutions.
Setting it up
Once all the parts are ready, assembly is straightforward. Build the frame, mount the screen, set up the projector, and connect the launch monitor to the computer. Calibration is important so that the virtual ball flight matches the actual swing. Software settings often need tweaking for accuracy and realism.
After setup, test the system with different clubs to make sure distances and ball flight look right. Adjust angles, screen tension, and mat placement as needed.
Maintenance and upgrades
Like any home project, a simulator requires occasional upkeep. Screens should be checked for wear, especially if hit in the same area repeatedly. Mats may need to be replaced every few years. Software updates keep the graphics and analysis tools current.
As technology improves, it’s easy to swap in better sensors, projectors, or even larger enclosures. A diy golf sim kit is a flexible platform that can grow over time.
Final thoughts
Golfers no longer need perfect weather or expensive memberships to practice. With patience, planning, and the right components, anyone can create a simulator that fits their space and budget. Building a diy golf sim kit is an investment in both skill improvement and enjoyment. It brings the course indoors, making practice possible year-round.


A chef is usually pictured as being overweight, due to the nature of the job. Having to constantly taste food to understand it, can’t be good for your health. But with celebrity chef Gordon Ramsay, it doesn’t show at all. This thanks to a fitness routine and healthy diet. Ramsay lost an incredible 50lbs, and he looks better than ever. His routine consists more of endurance training rather than lifting heavy weights, and he routinely trains with cycling when he’s travelling. If he’s not travelling, he makes sure to get his workouts in at his home gym (working out with Will Usher, former army captain and member of the Royal Protection Squad!).
“The more I train, the more normal I am, the more I feel that I’m still unchanged” said Ramsay in regards to his diet and training routine, which he believes keeps him feeling young and healthy.
Moreover, Gordon came out with a new cookbook called “Gordon Ramsay’s Ultimate Food: Mouth-Watering Recipes to Fuel You for Life”, which is full of healthy meals for the fitness enthusiast.
Gordon doesn’t follow a specific diet or have a dietician, but he swears by certain rules for his eating habits. One of these is cutting down on dairy, which he believes makes you feel sluggish. Almond milk is his replacement, which mixes in with a smoothie consisting of berries yoghurt. He also believes in drinking a couple glasses of water before you eat a meal, which he says doesn’t fill you up but it does stop you from eating excessively.
It’s plain to see that Gordon Ramsay is in great shape, and it is evident in his body even at his age of 53. It is important to take care of your health, even if you are a celebrity chef who can create delicious meals at any time.

Mark Wahlberg is commonly on the big screens, and is obviously a healthy and fit guy just by looking at him. So it comes as no surprise that he has a rigorous daily routine and habits that keep him scheduled, disciplined and in shape.
It also helps him deal with his busy lifestyle as a movie star, producer and model.
Here are some of the daily habits Mark Wahlberg has that you could use to benefit your own life.
Early morning workouts
It’s obvious that Mark Wahlberg works out, but how about a 5am workout?
Wahlberg rises early at 4am to start his day with a scheduled breakfast, then a 5am workout. After training intensely at the gym, he’s drinking a shake at 6:30, then dropping the kids to school at 7:30 and eating at the same time. He says by 9am, he’s been to church and eaten again.
Discipline is everything
This isn’t surprising either, considering how disciplined he would have to be to continue his above schedule every morning. For Wahlberg, the discipline in his fitness, career and faith is how he keeps his life together. He continually strives for more and more, and he believes since he started acting he is much more disciplined, in contrast to when he was doing music.
He is always hustling
Wahlberg is always working towards the next big thing, and following his mantra of hustle harder. This started from his past when he was hustling in the music industry, to going in front of the camera and hustling within the movie industry where he enjoys his success of today.
Mark Wahlberg is a very disciplined person who follows habits almost religiously to do with fitness, faith and career. He believes it’s this discipline and drive that has made and kept him successful.
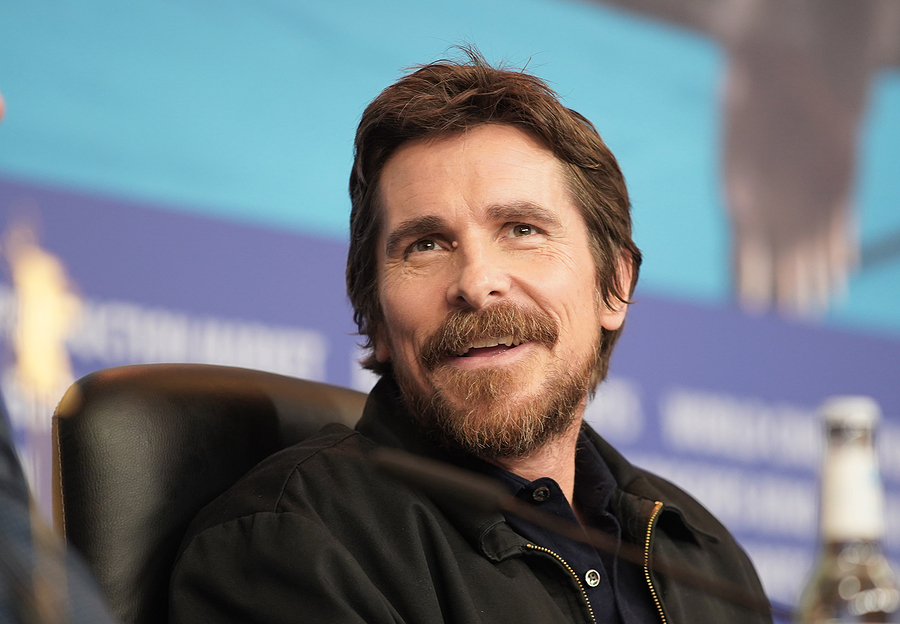
Christian Bale is responsible for some of the most drastic physical transformations shown on the big screen. From very skinny in “The Machinist” to huge playing The Batman in “The Dark Knight”, Bale’s physicality range knows no bounds. A dedicated actor in his art, Bale commits all the way for his roles and continuously delivers in both his on screen performance as well as his on screen appearance.
These are some of Christian Bale’s physical transformations on the big screen.
The Machinist
Four months prior to the production of “The Machinist”, Bale started to lose weight for this role. Starting at 180 pounds, Bale dropped an unbelievable 60 pounds to look extremely skinny. His diet during this time included one coffee, an apple and water. He also chain smoked cigarettes and drank whiskey to further lose weight. His dedication is revealed on the screen, with Bale looking scraggly and dangerously skinny.
Batman Begins/The Dark Knight
Bale put on 100 pounds for his role as The Batman, doing so in an unbelievable 6 months from his end of role in “The Machinist”. He used a typical workout body part split to focus on different muscle groups on different days. The effect is noticeable, The Batman looking large and intimidating on screen.
American Hustle
This role required Bale to pack on the weight again, but this time not through working out. He ate cheeseburgers, donuts and whatever else he could get his hands on for two months in order to get to 200 pounds, and visibly fatter. The effect is obvious on screen, with Bale sporting a belly and obviously looking much rounder when compared to “The Dark Knight”.
Christian Bale is a master of physical transformations, and he commits to his roles. From ridiculously skinny, to ripped and muscled, to fat and overweight, Bale can and will do it for a worthwhile movie role.


Gordon Ramsay and his fitness routine as a celebrity chef

The leadership traits and skills of Bill Gates

How acclaimed singer Adele lost so much weight

Zac Efron’s daily routine for his Baywatch body
The leadership traits and skills of Bill Gates

How does nutrition affect exercise with a celebrity example
-
 Lifestyle2 weeks ago
Zac Efron’s daily routine for his Baywatch body
-
 Leadership1 week ago
The leadership traits and skills of Bill Gates
-
 Food & Cooking2 weeks ago
How does nutrition affect exercise with a celebrity example
-
 Lifestyle1 week ago
Gordon Ramsay and his fitness routine as a celebrity chef
-

 Lifestyle6 years ago
Debut album by Amalia Kadis delights her eager and rapidly growing fanbase
-

 Leadership2 weeks ago
The unique leadership style of Jeff Bezos
-

 Leadership2 weeks ago
The key factors of Mark Zuckerberg’s journey to leadership
-

 Food & Cooking1 week ago
How Gordon Ramsay became a successful chef